NEO COOLCAM Z-wave Plus MINI Smart Power Plug Home Automation Zwave Socket,Z Wave Range Extender Works with Wink,Smartthings
- I am an international seller,100% brand new and of high quality
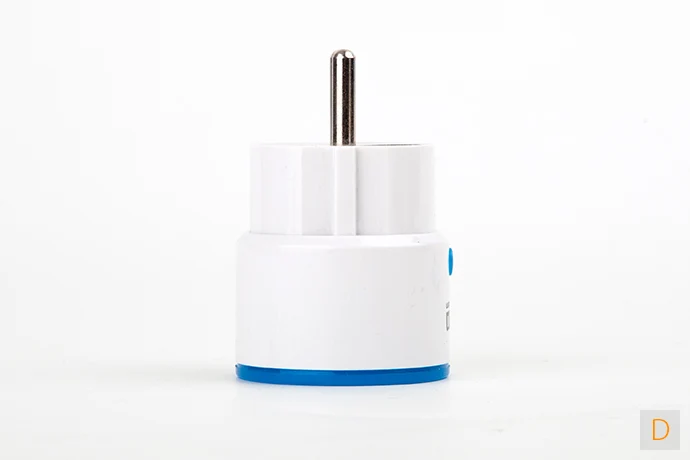
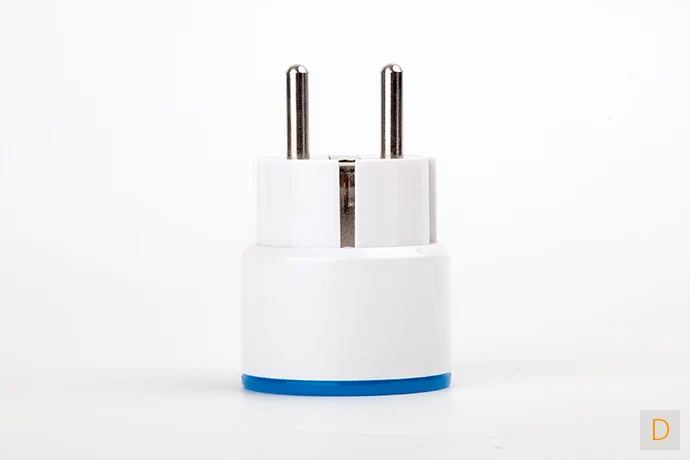
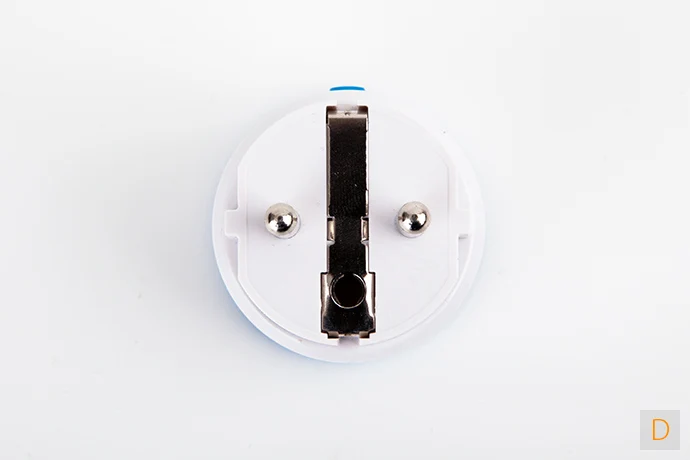
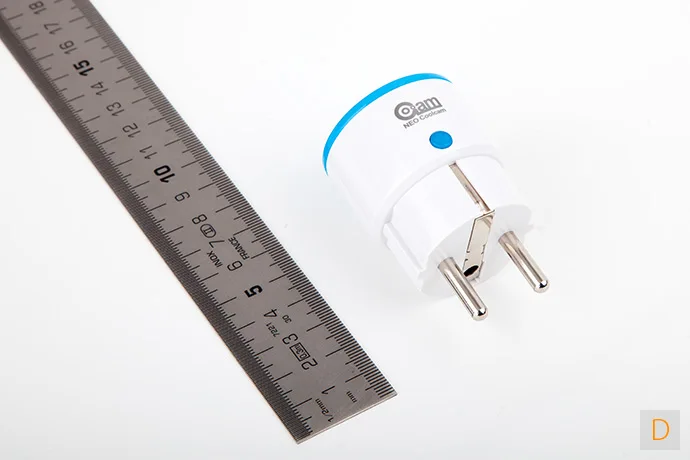
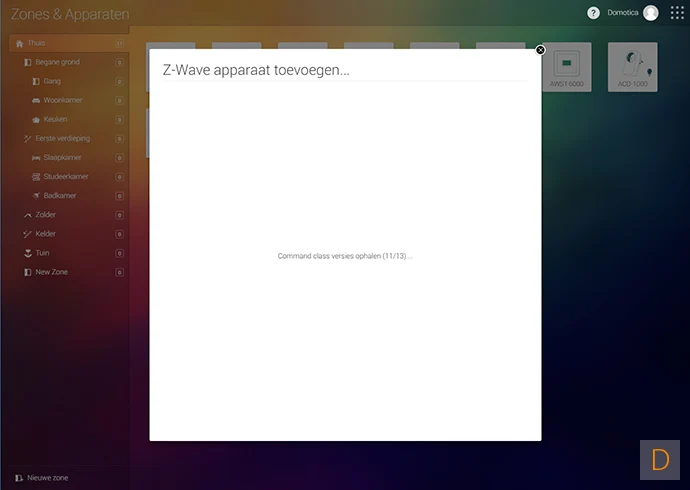
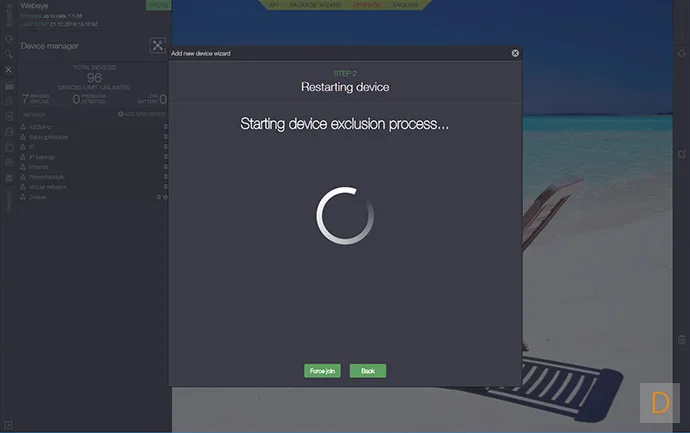
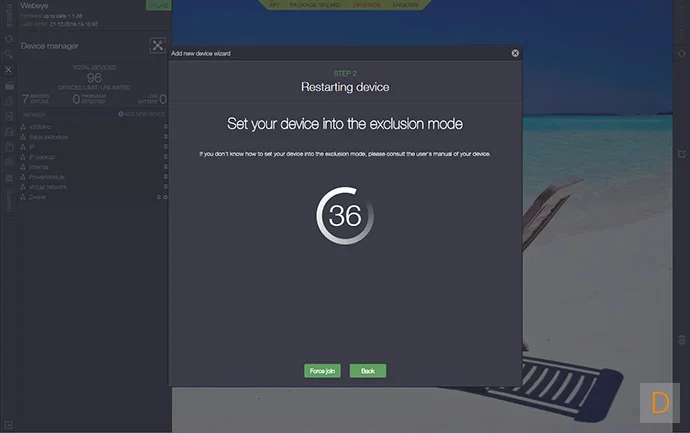
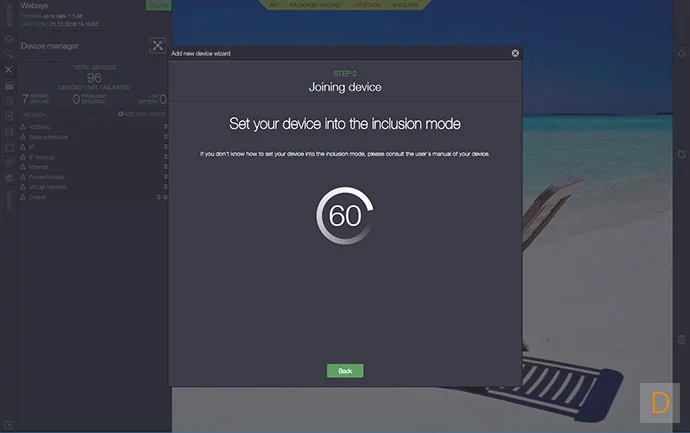
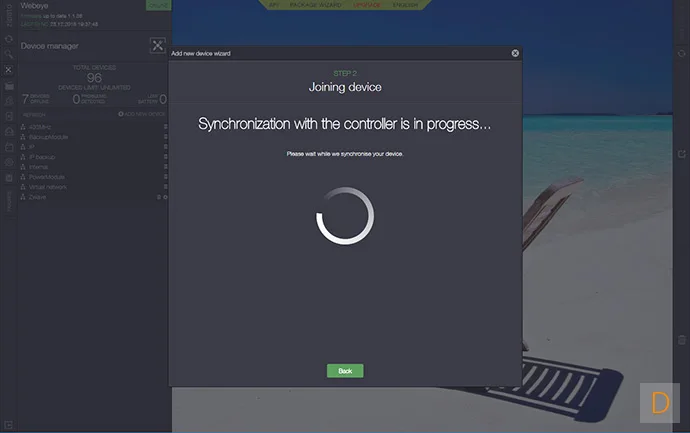
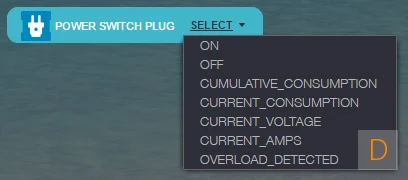
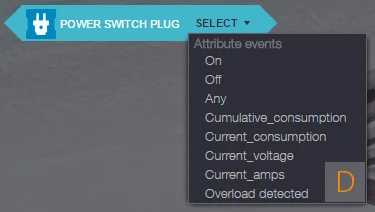
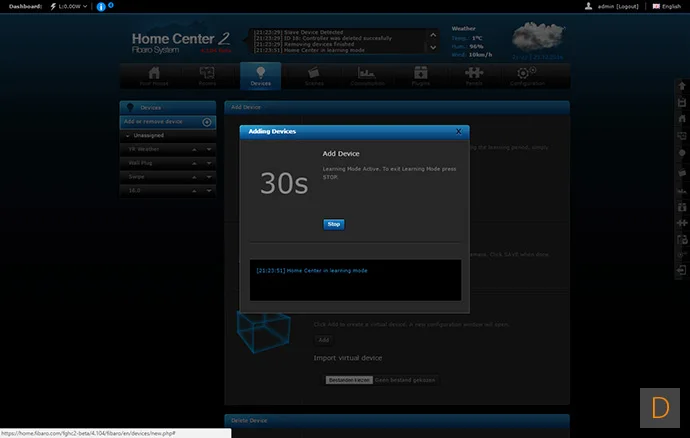
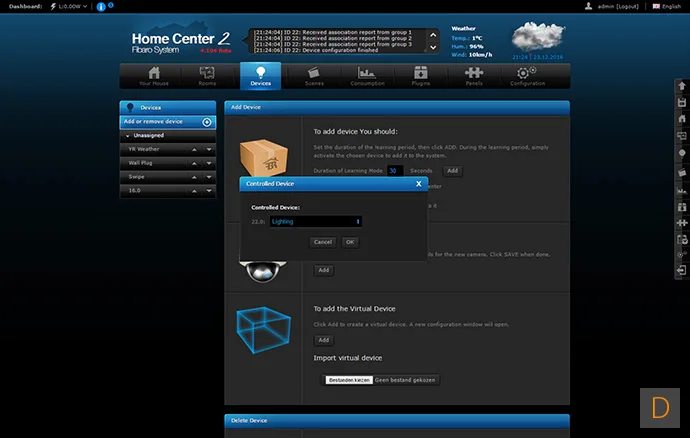
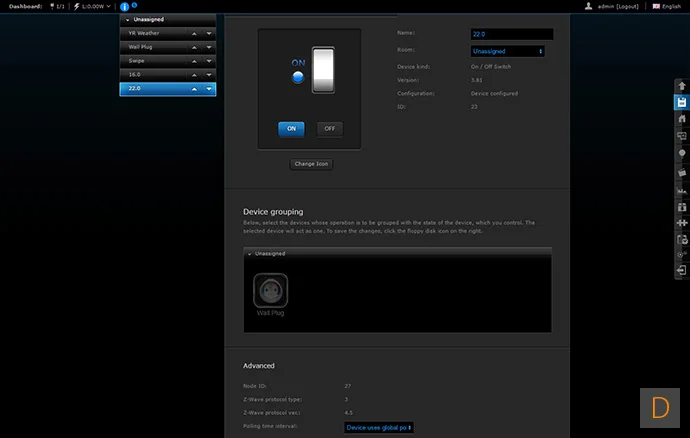
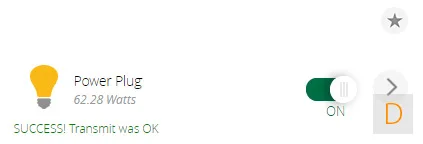
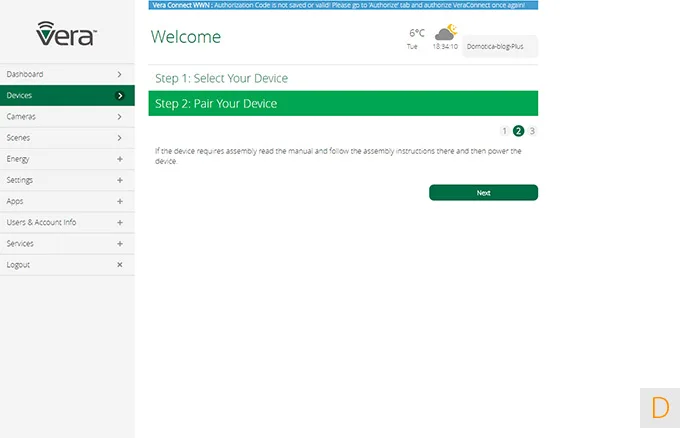
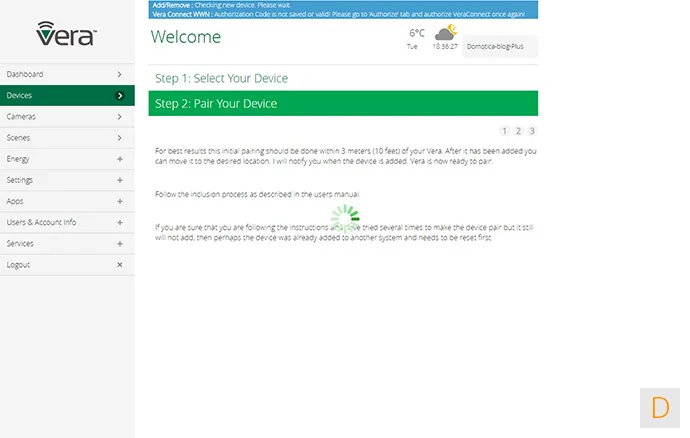
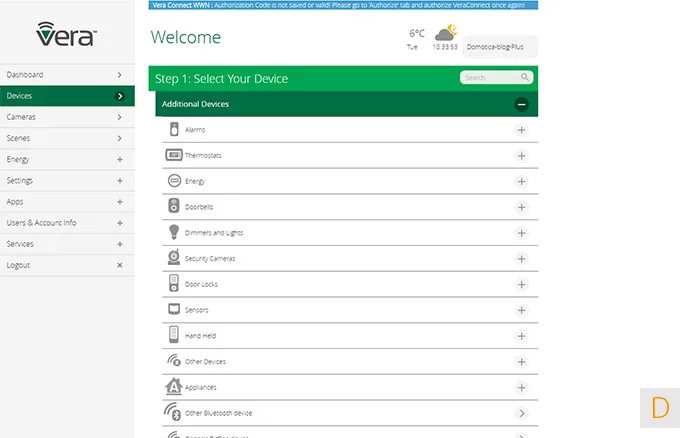
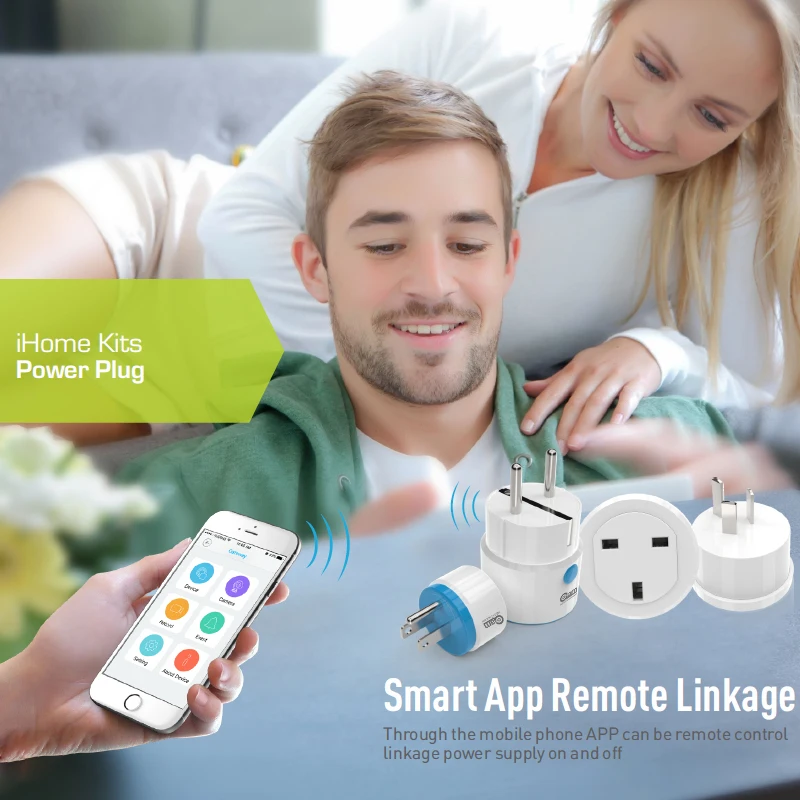
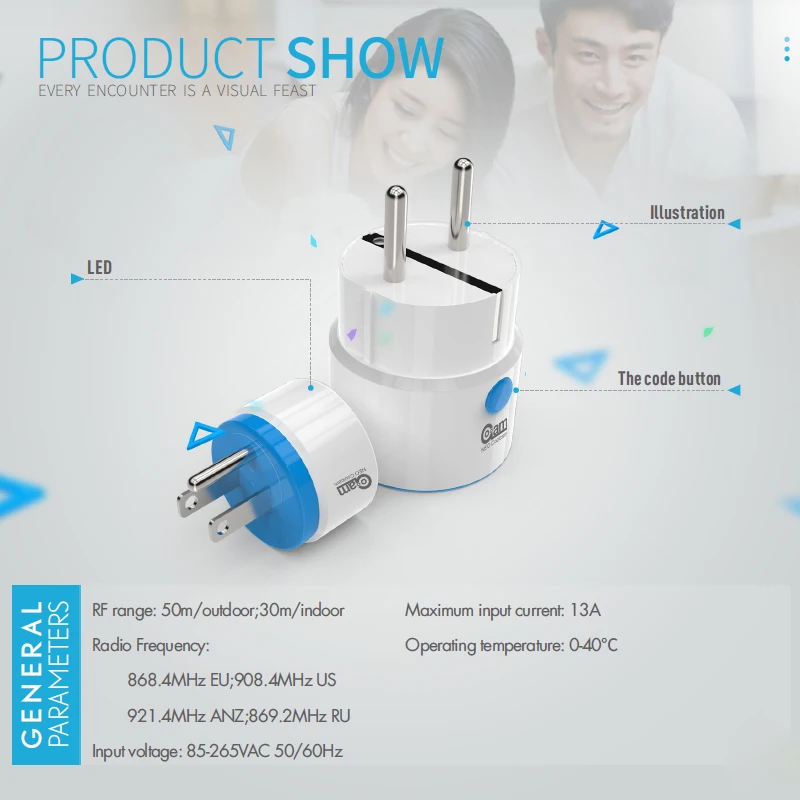
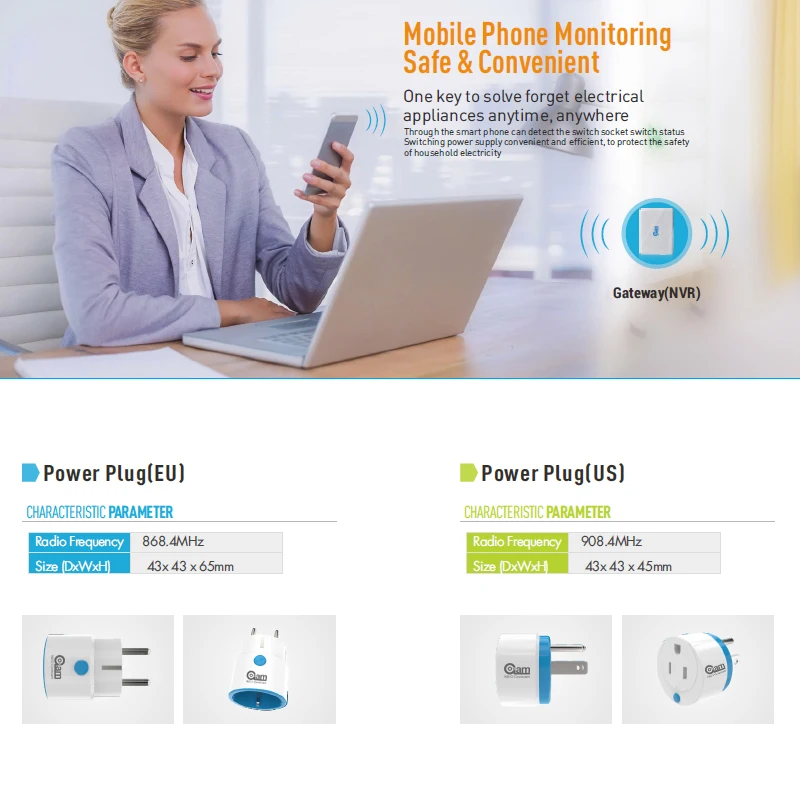
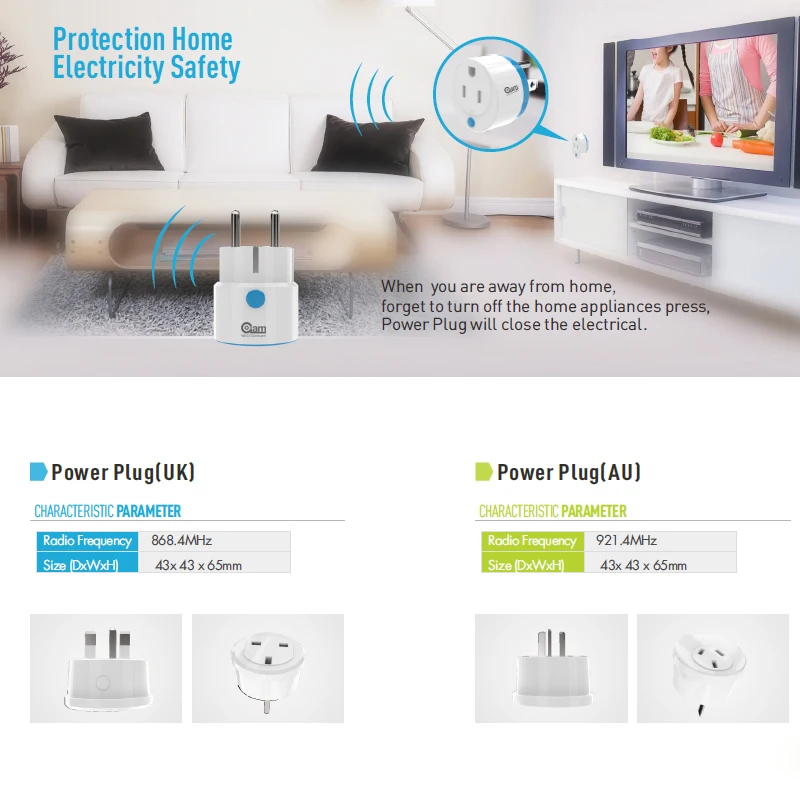
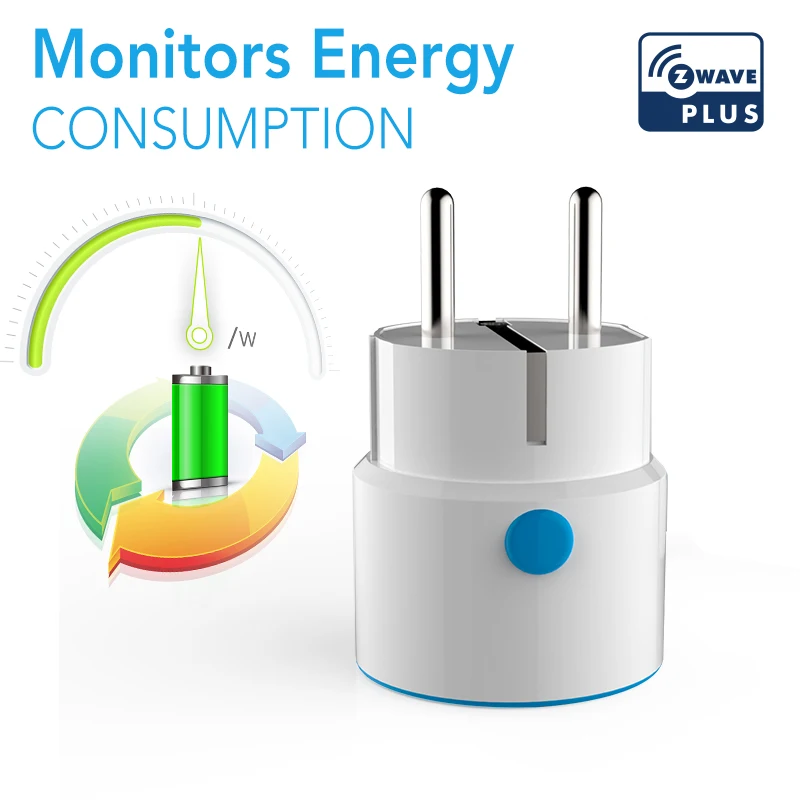
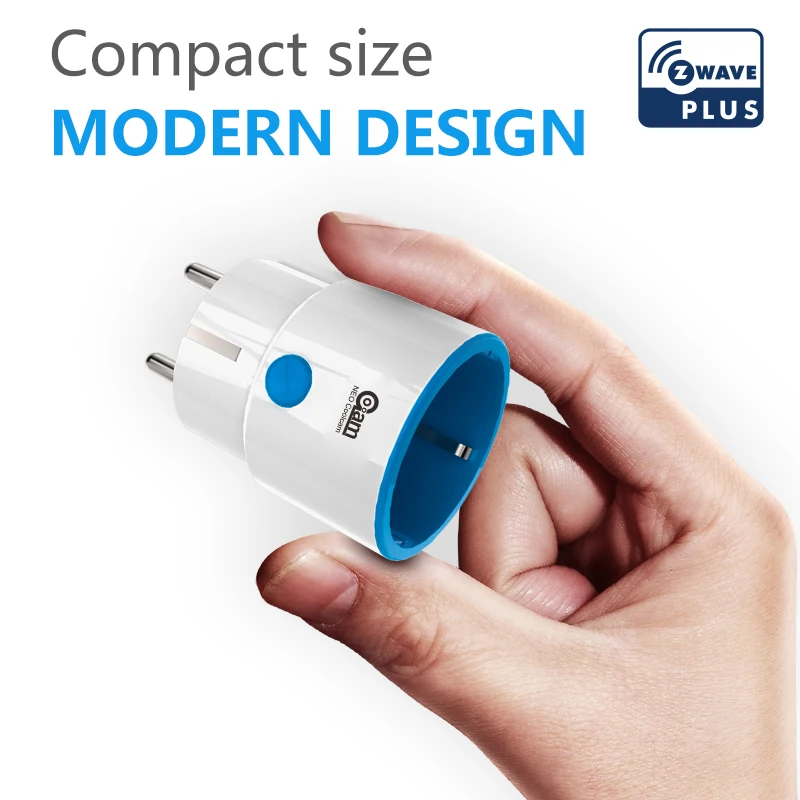
Our shop sells the most popular 3C consumer electronics products,such as mobile phone accessories,computer accessories,game peripherals,smart wearables,and follow the most popular fashion trends. If you like our products,please follow us,become our follower and fan.We will provide you with the most popular products to satisfy your fashion shopping experience.Model Number : NAS-WR01ZEBrand Name : IHOMECAMOrigin : Mainland ChinaCertification : CESmart home platform : Samsung Smart HomeRadio Frequency(EU version) : 868.4MHz,default versionPower: : 110-240VMaximum Load : 13ARange : Up to 100 feet line of sightEnergy Efficient : energy reportz wave repeater : z wave range extendernote : Homey,Domoticz hub ect may show negative value for the power meterZ-Wave: What it is and What It Means for Your Smart HomeIf you’re not a total techie, the world of smart home technology can sometimes be a little intimidating to navigate. We’re here to break it down for you:What is Z-Wave?Z-Wave is a wireless protocol that focuses on connectivity within the smart home. It uses low-energy radio waves to let smart devices communicate with one another. (For a comparison, think that the Z-Wave connectivity range is bigger than that of Bluetooth, but smaller than that of Wi-Fi.)How is Z-Wave connectivity different than Wi-Fi?With Wi-Fi, everything has to be connected to a central hub—like a router. Z-Wave connectivity, on the other hand, forms a mesh network. This means that all the Z-Wave devices link up together.Usually, there will be one central hub that connects to the internet, but all the devices themselves don’t have Wi-Fi capabilities; instead, they use Z-Wave connectivity to talk to each other and to the central hub.This source-routed mesh network topology has 232 nodes, which means that you can connect 232 smart devices to the network.How is Z-Wave different than Zigbee?Basically, Z-Wave was designed to be simpler to use and less expensive than Zigbee.Plus, while both Z-Wave and Zigbee form mesh networks, Z-Wave operates on a 800-900 MHz frequency range, instead of Zigbee’s 2.4GHz frequency range. This means that Z-Wave gets much less interference than Zigbee.What does Z-Wave mean for your smart home?Z-Wave connectivity means that you can easily build a smart home that is customized specifically for your needs.All Z-wave devices (of which there are over 24,000) are completely interoperable with one another—no exceptions. This means you have the flexibility to create a smart home network unique for your lifestyle.Plus, Z-Wave’s new 700 series (announced at CES 2018) has a range of 100 meters for point-to-point contact, so you can outfit your home with smart devices, both inside and out. And, because this new platform operates on such low power, some sensors will be able to run for 10 years on a single battery.Build your own Z-Wave smart home network. Start with a smart hub, and then add smart lighting, smart locks, smart sensors, and more to make your home a Z-Wave home.NEO Coolcam Z-WAVE NAS-WR01ZE EU Smart Power Plug Socket Home Automation Alarm System home EU Version 868.4MHz FrequencyPower plug is an intelligent device that can be controlled remotely by the Z-wave network which have particular frequency.in the Z-wave network communitcaions,power plug can be connected to any z-wave main controller.Different countries or areas.the radio frequency is different of the z-wave network.in the communication with z-wave main controller,the power plug can send and receive messages.when press the e button of power plug.it will send messages to the z-wave main controller.the z-wave main controller can display the on/off status of power plug correctly.when the power plug receives messages from the z-wave main controller,the on/off status of the power plug can be switched remotely via mobile phone app.the power plug is small and light.very easy to operateThis is the Z-wave Wifi smart power plug,Compatible with z-wave 300 series and ?500 series.Our Sensors Compatible With following brand alarm horst:Fibaro/Smarthings/Vera/Zipato/Iris/Wink.can't work alone.need work with their alarm host.Thanks.Features:ON/OFF controlCompatible with 300 series and 500 seriesMeasuring voltage,current,instant power,accumulated power.Input voltage:110-250V AC,50/60HZMax current:13A(1,560-Watts)Operation temperature:0-40 degreeStorage temperature: -20-60 degreeUS plug:43mm x 43mm x 45mmRadio Frequency:EU version:868.4MHz Only,If you need US 908.4MZH,please order it via other link or contact seller..thanksWhat It DoesInstant Wireless ControlControl lamps and small appliances wirelessly with your smart phone or laptop.Energy EfficientMonitor energy consumption in live mode or over time. Save on bills and enjoy a more efficient home.Complete CustomizationBuild your own schedules and events designed around your needs. Use advanced configurations to allow or disable manual control of the plug. Set the timer to turn appliances off automatically.Simplest Set UpInstallation is virtually instant, and a compact size gives full access to the second outlet in a standard receptacle.Stronger ConnectivityZ-Wave Plus provides faster and safer wireless connectivity. The built-in range extender guarantees a stronger network.If you have a controller that supports Z-Wave Plus you get as an extra:- Better range- Over air firmware update possibility- Improved "healing"- More bandwidthInstallation:will test the installation on the following controllers:- Athom - Homey- Fibaro - HC2- Zipato - ZipaTileHomey:To install this plug, log in to your Homey. You then go to the devices and click on the (+). After this you have to install Neo CoolCam APP and look up the Power plug. The controller will now be put in the learning mode. After that it is a matter of plugging in the plug.The plug was neatly found. If he is not immediately found, this happens if you do not start the adding procedure quickly enough, you can click the button 3x fast. You get an on and off switch, energy consumption and total consumption. So you do not see the voltage and the current (A). Energy consumption seems fine.Options in the flow editor:Zipato:Adding to the ZipaTile is done by going to the dashboard and clicking on add. Then insert the plug between the plug and wait until it is found. Then 1 time in and out to actually add it.You will see an on and off switch on your dashboard. The meters are also all present, they only had to be made visible. You get the promised: current energy consumption (W), total consumption (kWh), Voltage (V) and Ampere (A).The power consumption is also in order, a 60Watt light bulb gave a consumption of 63 wattsInstallation:Dashboard:Rule creator options:Fibaro HC2The next controller is the HC2 from Fibaro. Normally Fibaro is a bit behind with the support of new devices. We will see if this is the case.The addition is done by placing the controller in the "add" position and pressing the plug again into the socket. He is then added to the HC2. It strikes me that it is reported that no template is available yet. Despite this, I see neatly on the dashboard an on / off switch, the current energy consumption, total consumption, voltage and current.InstallationVera PlusAs the last controller I tried the Vera Plus. Unfortunately I could not find the plug in the list of devices but via the "general Z-wave" I manage to add it. On the dashboard I get an on and off switch and I see consumption.Dashboard:Installation::Send report (1):This allows you to set whether or not to send a measurement to the controller0: On1: OffMeter report interval (2):The interval setting to send a value to the controllerDefault setting: 300 secAvailable setting: 1 - 65635 secConfiguration of the maximum voltage (3):You can use this to set the maximum voltage on the plus. If this is exceeded, the plug will turn itself off.Default setting: 12AAvailable setting: 1 - 16 (A)Alarm for maximum voltage (4):You can illuminate the LED red when the maximum voltage is reached. He uses the value of parameter (3) for this.Default setting: 12AAvailable setting: 1 - Parameter 3LED on / off (5):0: On1: OffConfiguration flow report (6):With this setting you can determine at how much power change a new value has to be forwarded to the controller.Default setting: 30%Available setting: 1 - 100%Remember status On / Off (7):Default setting: 255 (remember status)Available setting: 0 or 255Configuration on / off automatically (8):You can set the plug to automatically go off to a specific time.Default setting: 0 (off)Available setting: 0 (off) or 1 (On)Time configuration automatic on / off (9):The time that the plug automatically turns on or off.Default setting: 150 (min)Available setting: 1 - 65535 (min)Conclusion:On the tested controllers the plug on and off works fine. Also adding does not cause problems. So the support seems fine.The plug feels and looks slightly less solid than those of the competitors. The insertion and unplugging in particular is rather difficult. This does not have to be a problem in itself because you're not going to take it out every day. The price of € 42.95 makes this between plug very interesting because a comparable plug from Fibaro costs € 64.95. The 2000W is usually sufficient to operate most devices.The support of Z-Wave Plus is a nice bonus.
























/product/07/1903652/1.jpg?8219)